Step-by-Step DS-160 Form Guide for 2025
The DS-160 form is the first and most important requirement when applying for a U.S. non-immigrant visa. Whether you’re planning to travel for tourism, business, studies, a conference, or medical treatment, the DS-160 is your official entry point into the U.S. visa system. Many applicants feel overwhelmed because the form is long, detailed, and must be filled correctly—one mistake can lead to delays or even rejection.
This 2025 updated guide walks you through every section step-by-step, explains all questions in simple language, and includes examples, pro tips, and even image prompts where you may need screenshots. By the end, you’ll know exactly how to complete your DS-160 without confusion.
What is the DS-160 Form?
The DS-160 is an online, electronic form used to apply for all non-immigrant U.S. visas. It is processed through the CEAC (Consular Electronic Application Center) website. All applicants—including children—must submit their own DS-160.
The U.S. Embassy uses your DS-160 to evaluate your background, travel intentions, financial capability, family ties, and security eligibility. Whatever you enter must match your supporting documents; discrepancies often trigger administrative processing or refusal under section 214(b).
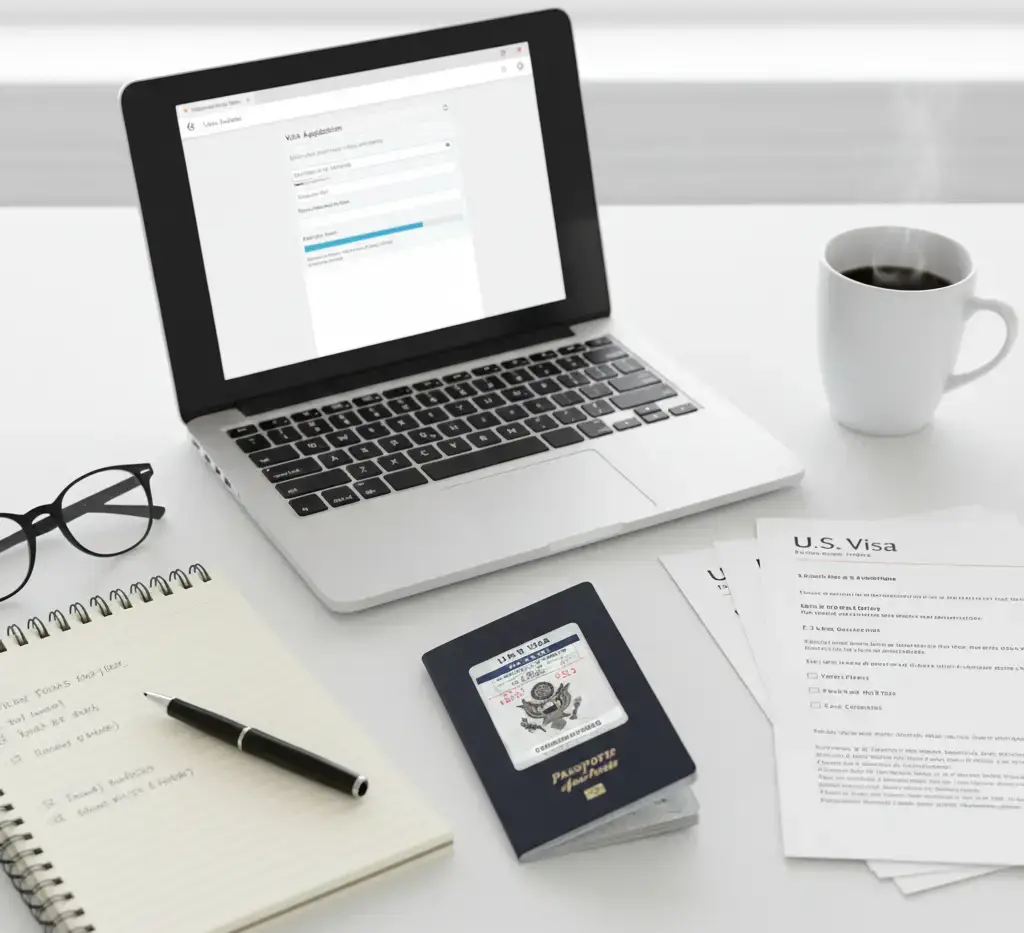
Documents Required Before Starting DS-160
Before You Begin, Prepare These Mandatory Visa Requirements
Passport
- Must be valid for at least 6 months beyond travel date.
- Ensure the spelling of your name matches exactly with your travel documents.
Travel Plan (if available)
- Tentative arrival date
- Duration of stay
- City you plan to visit
Personal Details
- Address history
- Phone numbers
- Marital status
- National ID
Employment & Education Details
- Job title
- Employer name
- Previous employment history
- School information
- Job title
Digital Photo (2x2 inches)
Required later during the photo upload section.
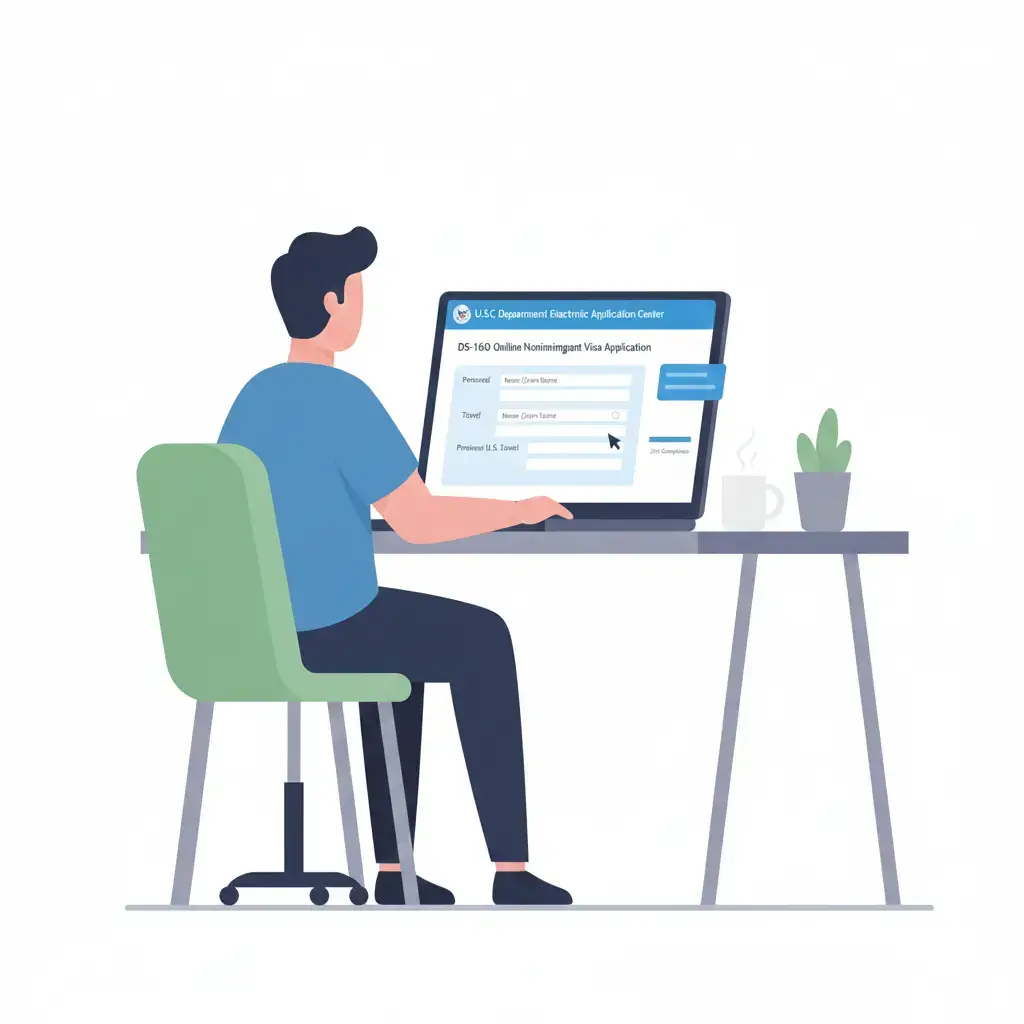
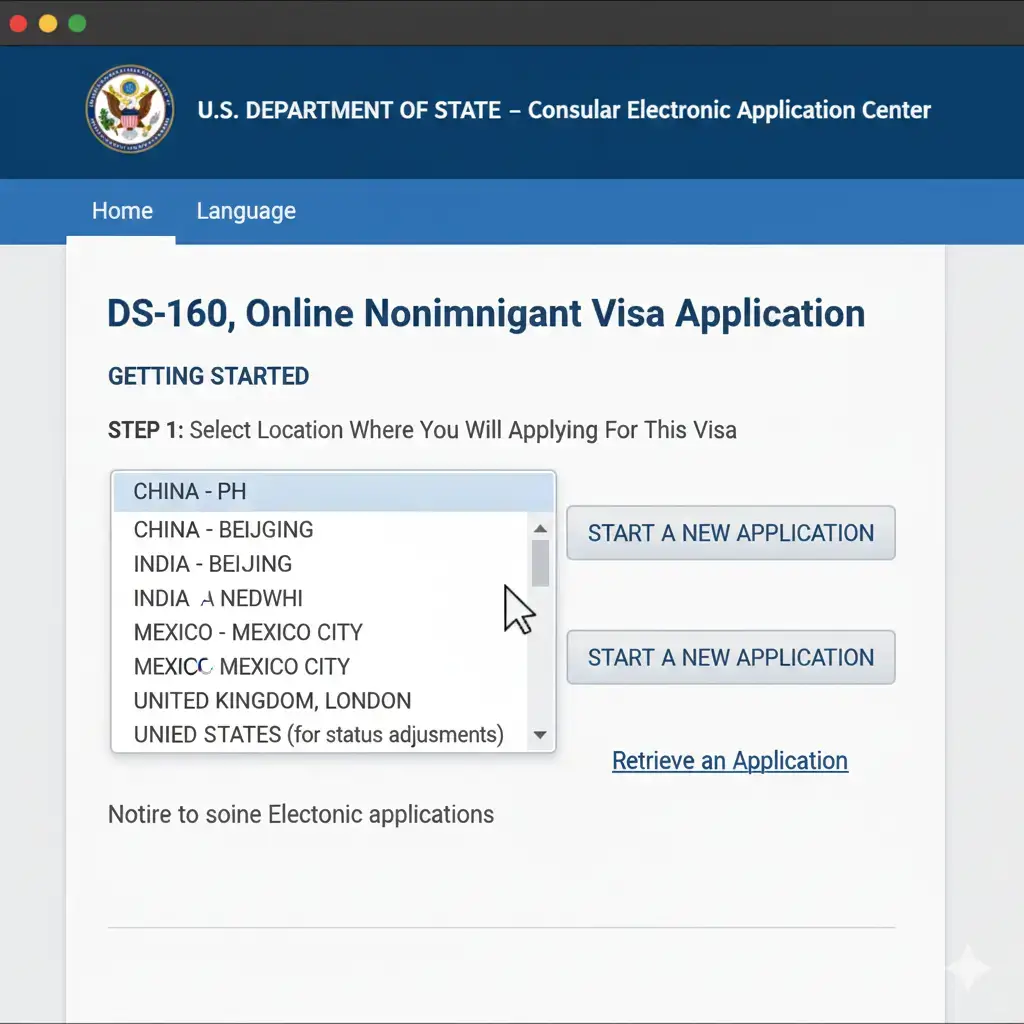
How to Start the DS-160 Online
- Visit the official CEAC website:
https://ceac.state.gov/CEAC - Select “DS-160: Online Nonimmigrant Visa Application.”
- Choose your location (the embassy where you will attend your interview).
- The system automatically generates an Application ID.
Write this ID down—you’ll need it to retrieve your application.
Tip: Enable auto-save or manually save every 10 minutes. The system times out quickly.
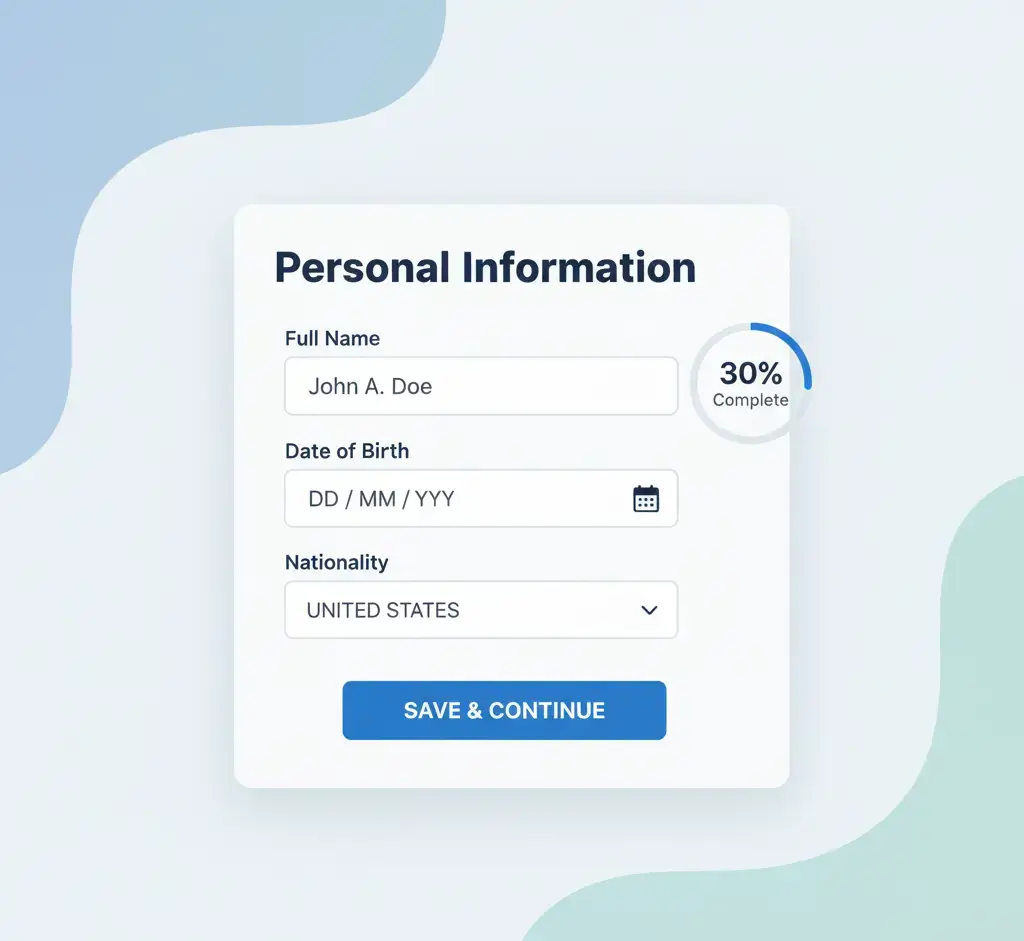
Personal Information Section
Names
- Enter your full legal name EXACTLY as it appears on your passport.
- If you have multiple given names, enter all of them.
Other Names Used
- Include maiden name, previous passports, or aliases if applicable.
Nationality & Birth Details
Select your primary nationality and place of birth.
Marital Status
Options include Single, Married, Widowed, Divorced, Separated.
This section is simple but extremely sensitive; spelling errors here can be fatal.
Address & Phone Details
Here you will provide:
- Home address
- Mailing address (if different)
- Phone numbers (home, mobile, work)
- Email address
Make sure the email is accessible, because important updates will be sent there.
If you moved frequently in the last 5 years, you must list every address.
Passport Information
Fields required:
- Passport number
- Passport book number (enter N/A if not applicable)
- Place of issuance
- Date of issue
- Expiry date
If you hold multiple passports, mention only the one you will use for travel
Travel Information
Purpose of Travel
Choose one:
- Tourism (B2)
- Business (B1)
- Student (F1)
- Exchange Visitor (J1)
- Medical Treatment
Intended Stay
Provide your expected arrival and departure dates.
If you don’t know your exact date, estimate — it’s allowed.
Address in the U.S.
You may enter:
- Hotel reservation
- Host address
- University address (for students)
Travel Companions
Here you must declare whether you’re traveling alone or with someone.
If traveling with family or a group, list:
- Their names
- Relationship
- Whether they have their own DS-160
- This section helps the embassy analyze group travel patterns.
Previous U.S. Travel History
Questions include:
- Have you been to the U.S. before?
- Have you been issued a U.S. visa before?
- Have you ever overstayed or violated U.S. immigration laws?
Answer honestly. The embassy already has your full travel record.
U.S. Contact Information
Options for U.S. contacts:
- Friend or relative
- University official
- Employer
- Hotel or organization
You must provide:
- Name
- Address
- Contact number
- Relationship
If you don’t know anyone in the U.S., you may enter “UNKNOWN” and list a hotel.
Family Information
Details required:
Parents
- Full names
- Dates of birth
- Nationality
- Whether they live in the U.S.
Immediate Relatives in the U.S.
If you have siblings, parents, or children residing in the U.S., declare them
Work / Education / Training
This is one of the longest sections.
Employment Information
You must provide:
- Present employer
- Job title
- Salary
- Work duties
- Previous 5-year employment history
Educational Background
- Schools attended
- Start and end dates
- Qualifications received
This helps the embassy evaluate your ties to your home country.
Security & Background Section
This section has yes/no questions covering:
- Medical conditions
- Criminal history
- Drug use
- Terrorist activities
- Immigration violations
- Fraud
- Military service
Most applicants answer NO to all questions.
Never lie—these answers are recorded permanently.
Photo Upload
You must upload a recent 2×2 inch digital photo with:
- White background
- Neutral expression
- No shadows
- No glasses
- No filters
If the photo fails, don’t panic—you can bring a printed photo to the interview
Review & Edit Section
Before submitting, the system shows ALL your answers.
Check for:
- Spelling errors
- Passport number mistakes
- Data format mistakes
- Missing information
Once submitted, you cannot edit the DS-160.
If a mistake is found later, you must complete a new DS-160.
Submitting the DS-160
When ready, click Submit.
The system generates a DS-160 Confirmation Page with a barcode.
You MUST print and bring this page to your interview.
Also save the PDF version

Booking the Visa Appointment
Once your DS-160 is submitted:
- Create an account on your country’s U.S. visa appointment website.
- Pay the MRV fee.
- Enter your DS-160 confirmation number.
- Schedule a biometrics and interview appointment.
Interview Tips
Make sure the DS-160 number you enter matches your confirmation page.
Tips to Avoid Rejection
- Fill all answers truthfully
- Keep your story consistent
- Avoid typing errors
- Do not copy someone else’s DS-160
- Ensure your travel purpose matches your supporting documents
- Always save your Application ID
- Use a single browser only
These small steps help prevent complications during your interview.
Conclusion
The DS-160 is the backbone of your U.S. visa application. A carefully completed form increases your chances of a smooth and successful visa interview. With this 2025 step-by-step guide, you can confidently complete every section without confusion or fear. Take your time, review every answer, and keep your details consistent with your documents. A clean, accurate DS-160 is your first step toward a successful trip to the United States.
FAQs
1. Can I edit my DS-160 after submitting it?
No. You must create a new DS-160
2. What if my photo doesn’t upload?
Bring a printed 2×2 photo to your interview.
3. Can I fill the DS-160 on my phone?
Not recommended. Use a laptop or computer.
4. What happens if I forget my application ID?
Use the “Retrieve Application” option to recover it.
5. How long does it take to complete the DS-160?
Usually 45–60 minutes if you have all documents ready.